Clonezilla Steps
Requirements:
- USB Drive, 500MB or more (Everything on it will be erased)
- 2 Drives
In this tutorial, I will be cloning a 20GB drive to a 30GB drive
1. Setting Up the USB Drive
a. Download the latest Rufus release here
Save it anywhere except the USB drive
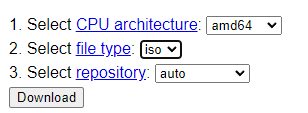
b. Download the latest Clonezilla release here
Change file type to ISO and press Download
Once it’s done downloading, it should look like this
c. Open Rufus
Press No if it asks to check for updates
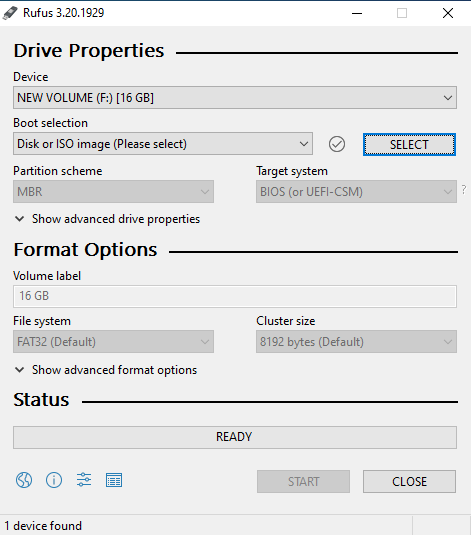
You should see this menu
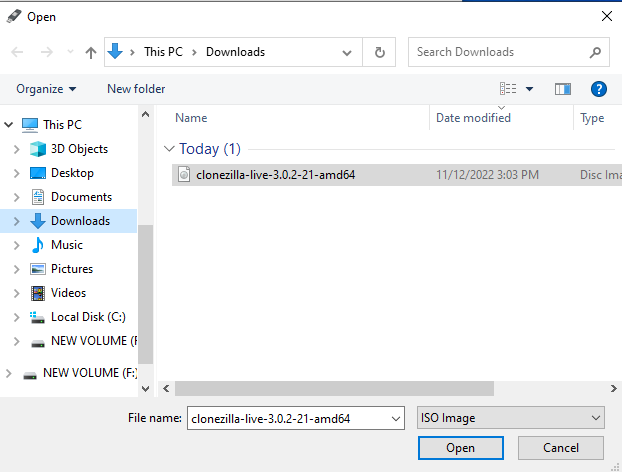
Press the blue SELECT button on the right and select the Clonezilla ISO that you downloaded
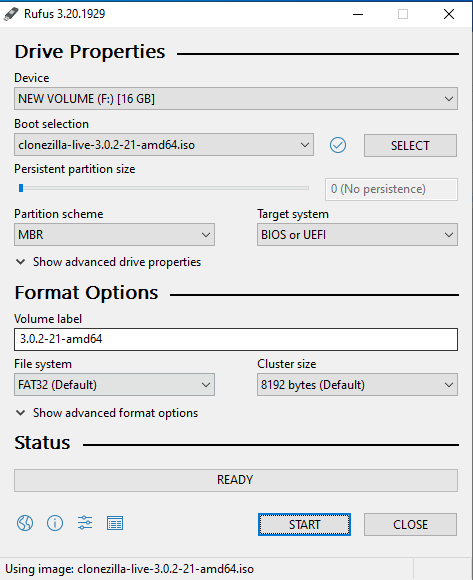
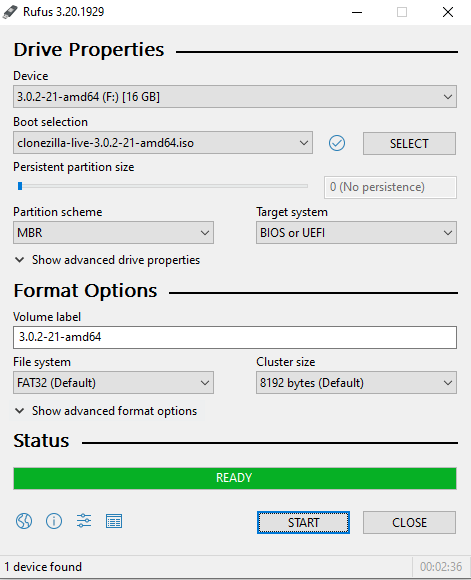
Rufus should now look like this, it may be different but it doesn’t matter. Just use the defaults.
Press the blue START button on the bottom
Note
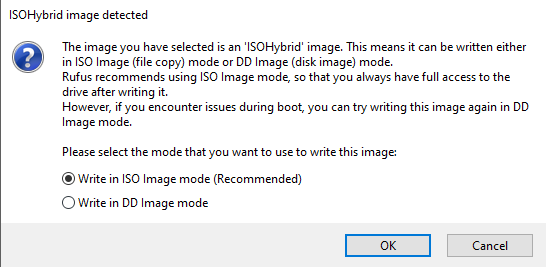
If it says ISOHybrid image detected, just press the blue OK button
Note
If it says Download required, press the blue Yes button
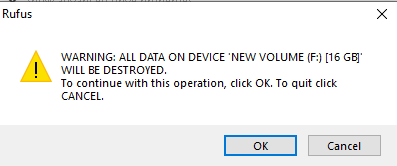
Rufus will tell you everything on the USB drive will be deleted, press the blue OK button
WARNING
Make sure there is nothing important on the USB drive
Now wait until Rufus is finished, it took me 2 minutes and 30 seconds so it shouldn’t take long
When it is done, it will say READY and now you have Clonezilla on your USB drive
2. Booting Clonezilla
Finding your Boot Menu
You have to find your boot menu or change the boot priority to do this.
This part varies greatly since there are many different BIOS and yours will most likely look different than others
You can ask me for help in Discord, click here for my profile
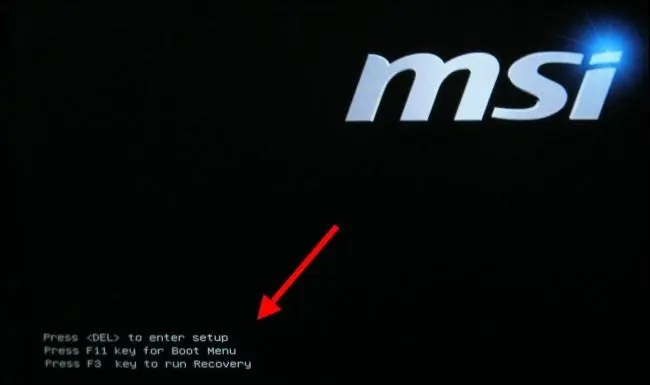
One way you can find the Boot Menu is by looking at the startup screen of your PC
You may see some text that says Press F11 for Boot Menu
Another way of finding the Boot Menu is in the BIOS
There is usually a key to access the BIOS, most of the time it is F2 or Del
To access the BIOS, turn off your computer. Turn it on and repeatedly press the F2 or Del key (or both if you want to) until a menu shows up.
Once you find it, your Boot Menu should look similar to this
Look for your USB drive and press Enter to boot to it
3. Using Clonezilla
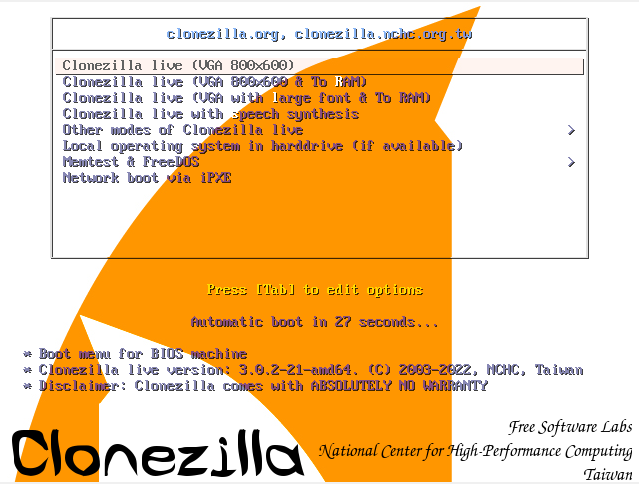
When you boot to Clonezilla, you will see this
Press Enter or wait 30 seconds for it to automatically boot
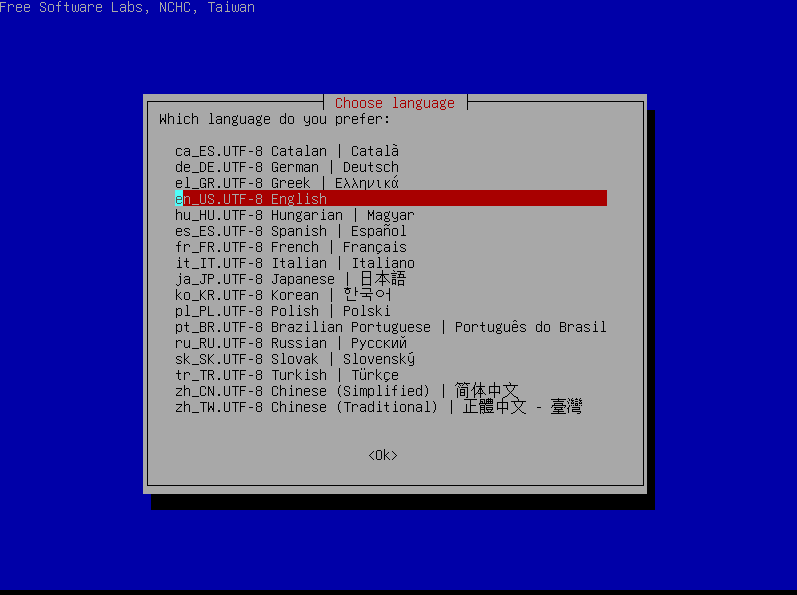
Choose your language
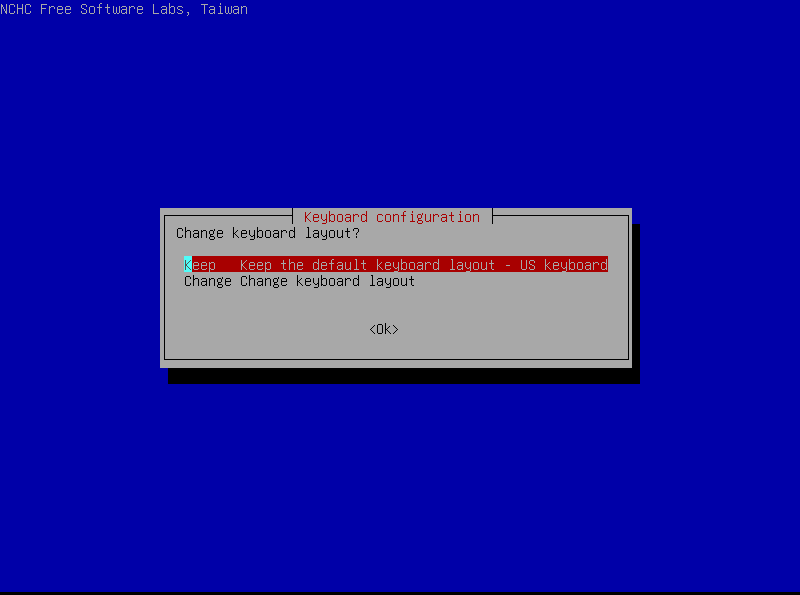
Press Keep
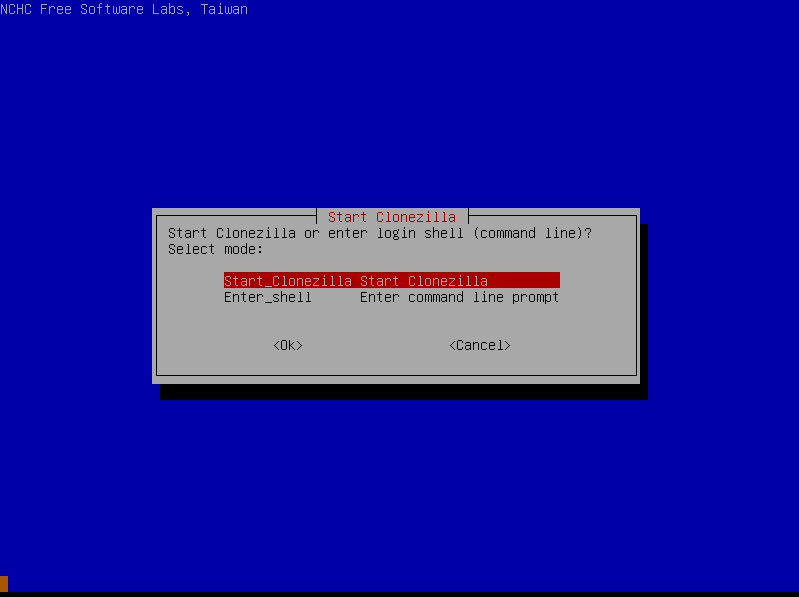
Press Start Clonezilla
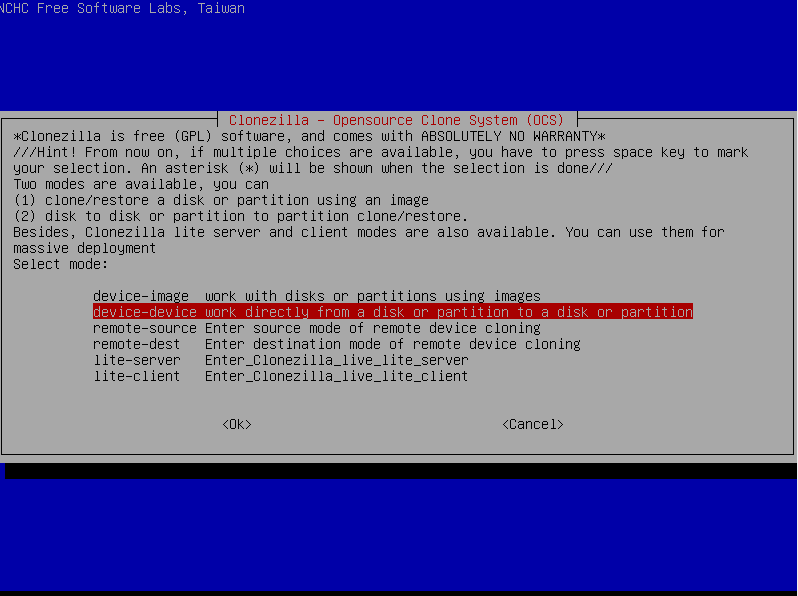
Choose device-device
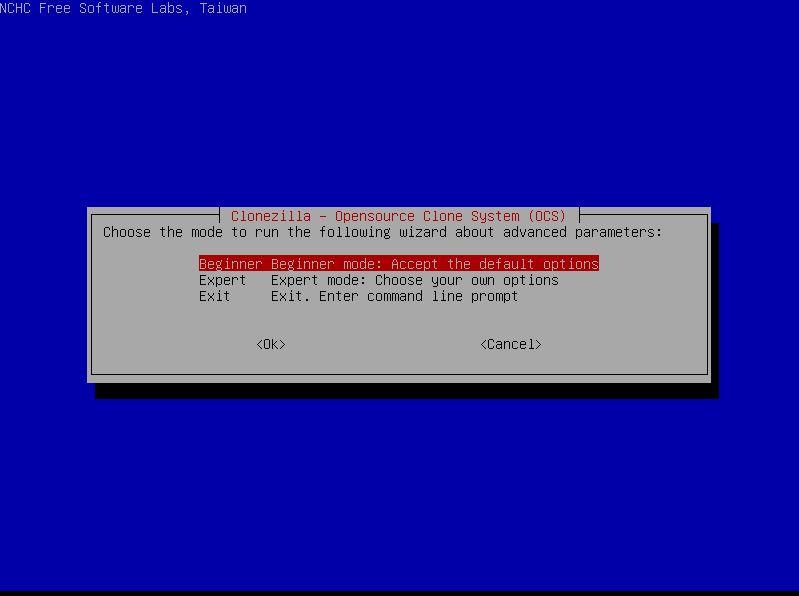
Press Beginner
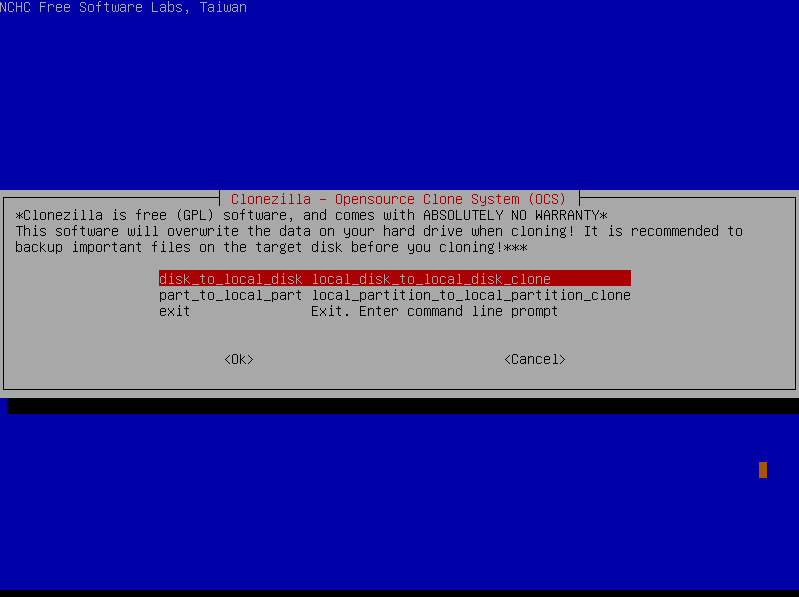
Press disk_to_local_disk
WARNING
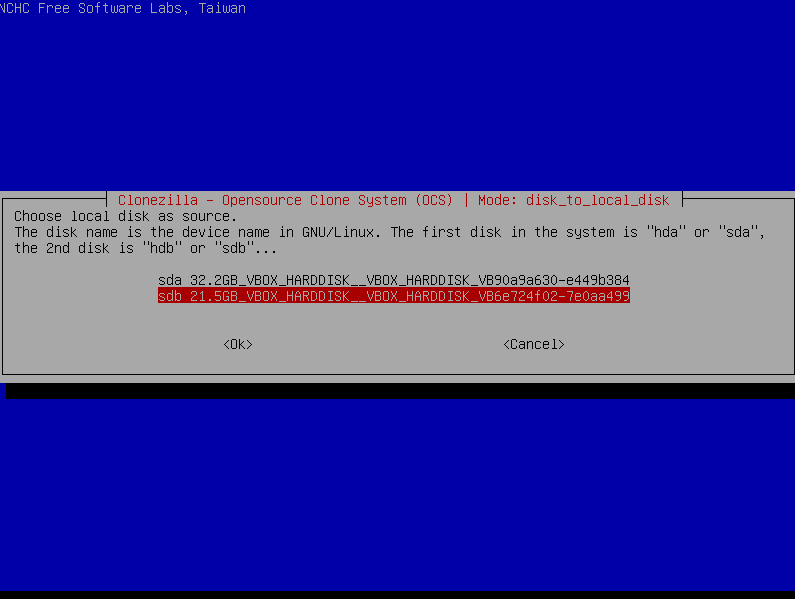
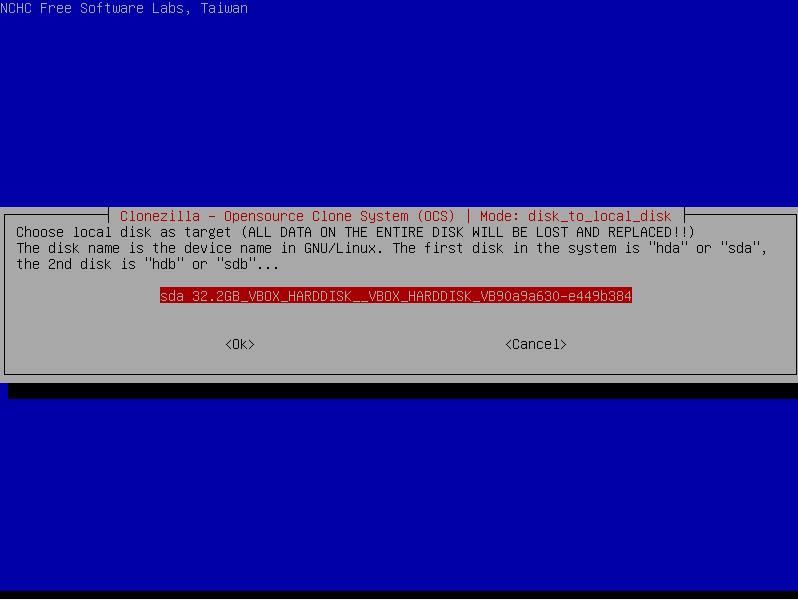
This is very important, make sure you follow these steps closely as you can clone the wrong drive and lose data
In this example, I am cloning a 20GB drive to a 30GB drive
First, you will choose the drive you are trying to clone which is the 20GB drive for me
Next, you will choose the drive that you want to clone to which is the 30GB drive for me
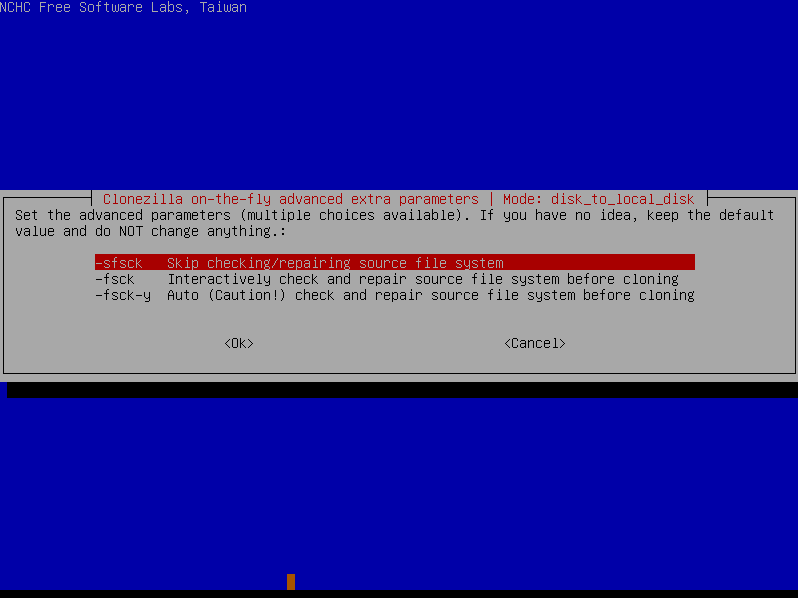
Press the first option (-sfsck)
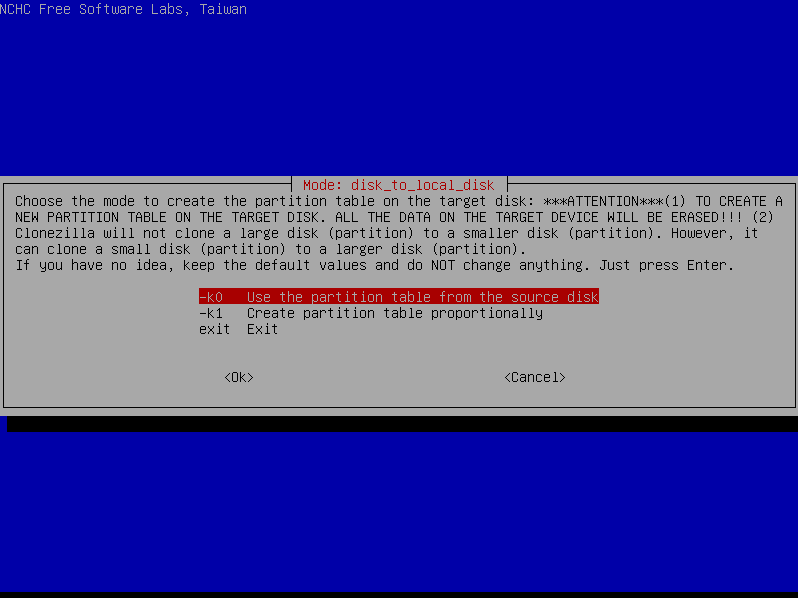
Press -k0
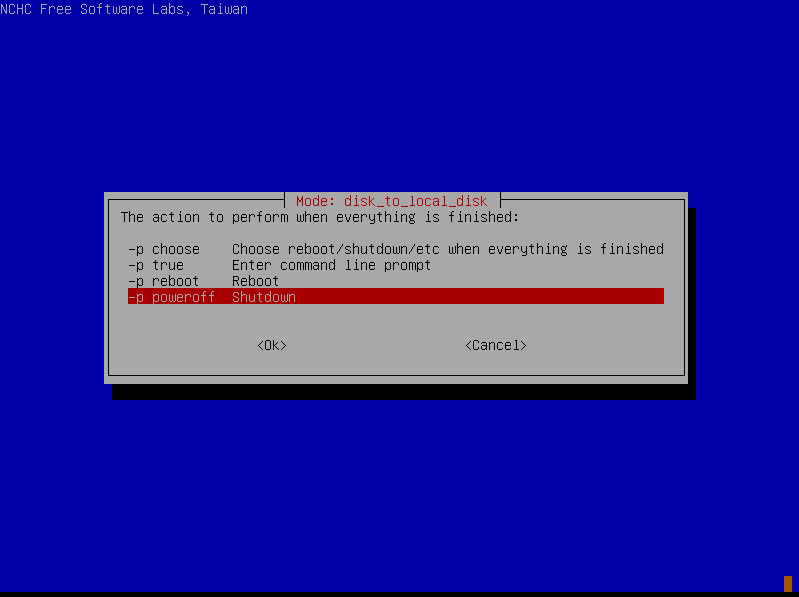
Now you can choose to either reboot or shutdown when finished.
I’m going to choose shutdown
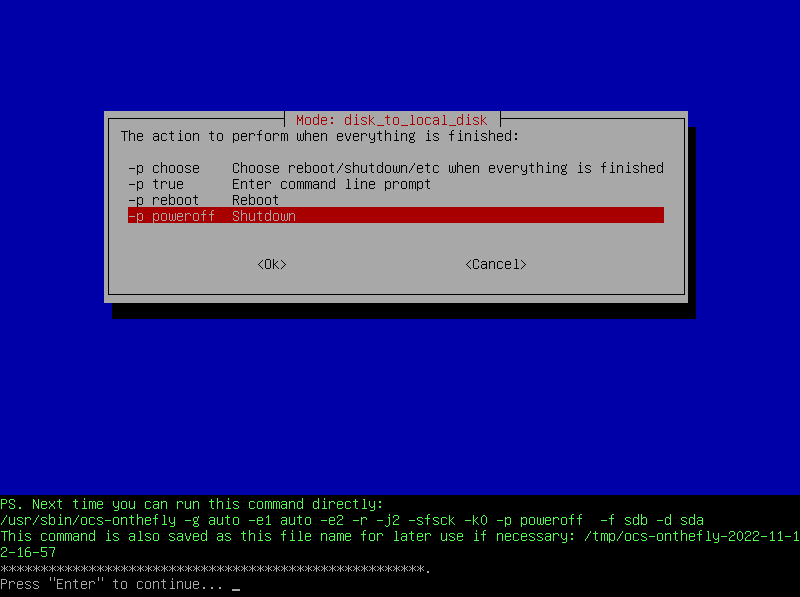
It will give you a message, just press Enter
It will warn you that the disk listed will be deleted
WARNING
Make sure it is the right disk (the disk you are cloning to)
Type Y and press Enter to continue
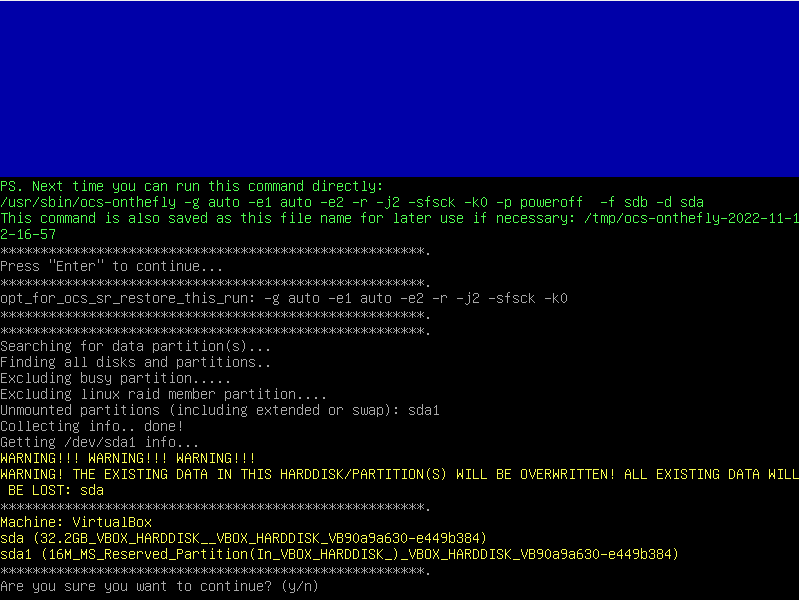
It will tell you are you sure, just type Y again and press Enter
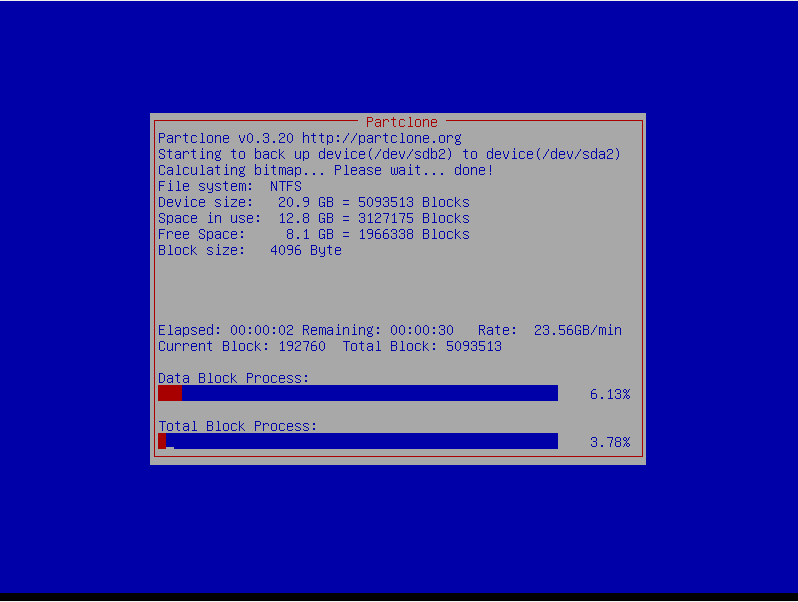
Now it is actually cloning the drive and will look like this, wait until it’s done.
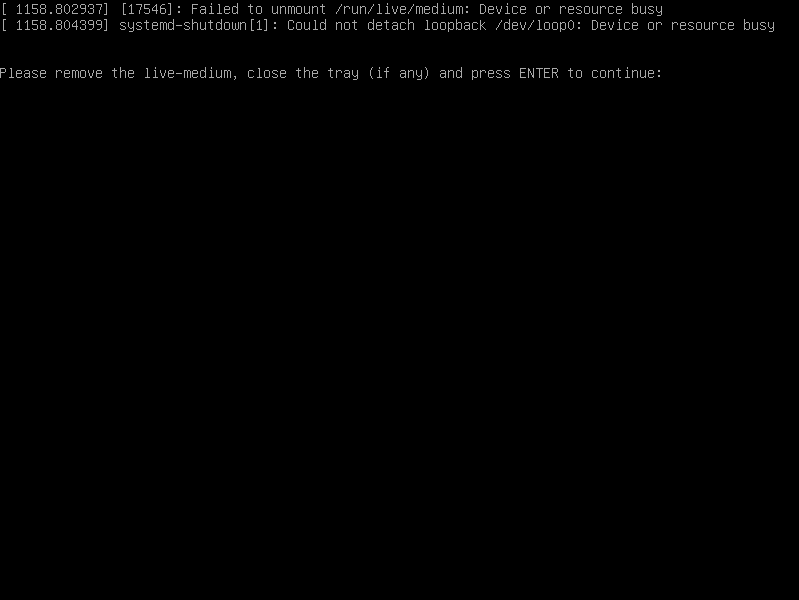
It may say this when it is finished, just press Enter
Created: 3 octobre 2023


